How to Split Screen on Mac: What the Green Button Does
Summary
How to split screen on Mac: hover the green button (not click it) and choose Left or Right of Screen: that is Split View. macOS Sequoia added Window Tiling with drag-to-edge snapping. For keyboard-first speed, Rectangle (free, 4.3 MB) gives you configurable hotkeys that tile any window in under one second. No hidden settings required.
Split screen on Mac is two clicks away, but the entry point is invisible. You hover the green button, not click it, and a menu appears. Most people click it instead, wonder why the window went full screen, and stop trying. Here is how to split screen on mac using the native method, what changed in macOS Sequoia, and when a third-party tool pays for itself.
What actually happens when you hover the green button
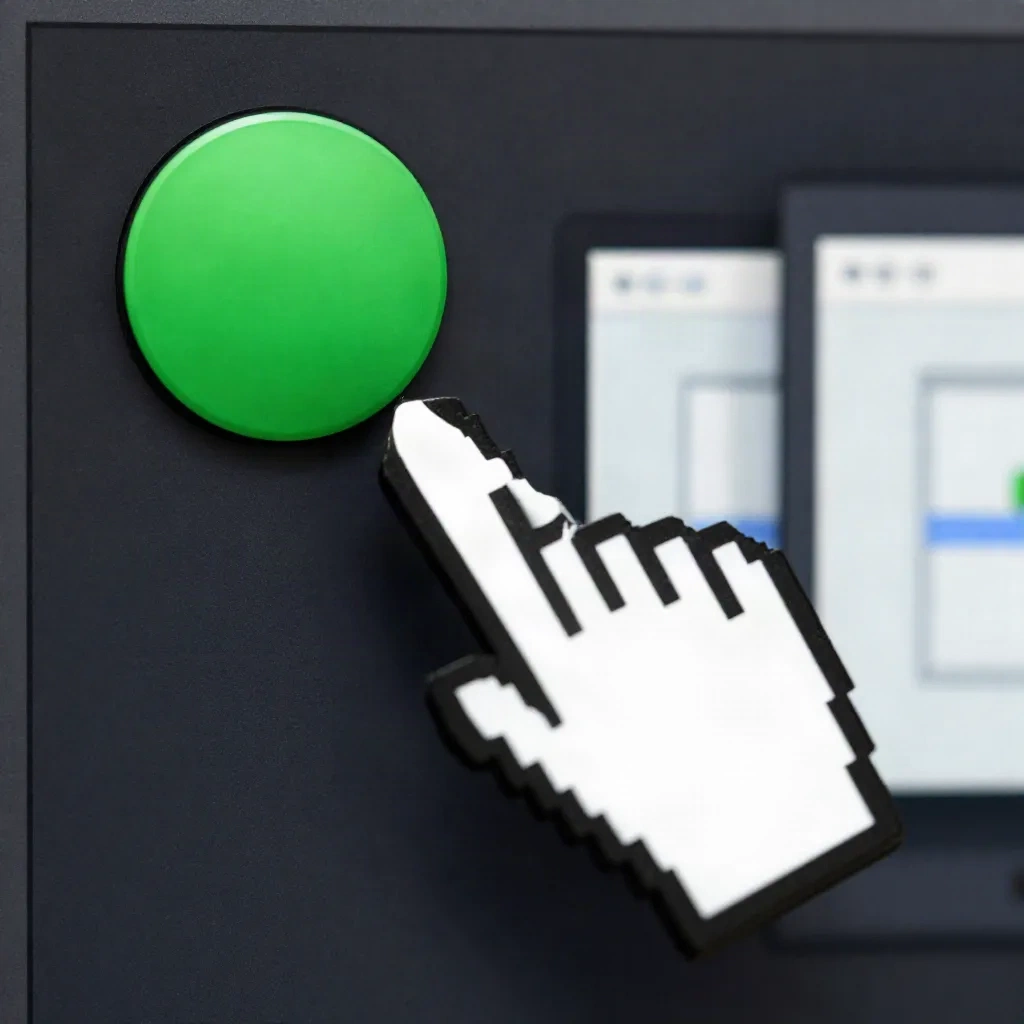
The green button in the top-left corner of every macOS window has three behaviours depending on how you interact with it. A single click enters full screen. A click while holding Option resizes the window to fill the available space. Hovering (keeping the pointer still over it for roughly 400ms) opens a popover menu with tiling options.
The menu shows Full Screen, Left of Screen, and Right of Screen, plus tiling options if other windows are open. Left of Screen and Right of Screen are how you enter Split View. They push the current window to one half, dim the other apps, and wait for you to click a second window to fill the opposite half.
No keyboard shortcut triggers this natively. No menu bar entry opens it. The only way in is the hover. That is a deliberate UX decision from Apple, and one that consistently surprises developers coming from Windows or tiling Linux environments who expect a keybind.
Split View: the exact steps
To put two apps side by side using native macOS:
Open the first app.
Hover the green button for 400ms until the popover appears.
Choose Left of Screen or Right of Screen.
Click the second app in the dimmed view that appears.
You are now in Split View. The two windows share the screen with a draggable separator bar in the middle. Drag it left or right to redistribute screen space. Double-click it to return to equal halves. Press ⌃ ↑ (Control-Up Arrow) or swipe up with three fingers to enter Mission Control, where both Split View spaces appear as thumbnails in the Spaces bar at the top.
To exit, move the pointer to the green button and choose Move Window to Desktop. The other app stays full screen in its own Space; find it via Mission Control.
Split View runs each app in its own macOS Space. Every app that supports full screen mode supports Split View. A handful of apps built before 2015 or built without full screen support are excluded, they simply do not appear in the selector after you pick one side.
macOS Sequoia Window Tiling: what changed in 2024
macOS Sequoia (15.0, released September 2024) added a separate feature called Window Tiling that is distinct from Split View. The naming is unfortunate because both involve two windows on one screen, but the mechanisms differ in ways that matter for daily use.
Window Tiling in Sequoia works by dragging: move a window to the left edge and it snaps to the left half. Move it to a corner and it snaps to a quarter. No hovering required, no full-screen mode involvement. The snapping is configurable: System Settings > Desktop and Dock > Windows > Drag windows to screen edges.
Sequoia also added keyboard shortcuts for Window Tiling, accessible from the Window menu in the menu bar. These are the first native keyboard shortcuts for split-screen tiling on macOS. They are menu-driven, which means you cannot configure them to custom keys without using System Settings > Keyboard > Keyboard Shortcuts > App Shortcuts.
The practical difference: Split View commits you to two full-screen apps sharing a Space with no visible menu bar by default. Window Tiling keeps apps on the regular desktop, preserves the menu bar, and lets you have more than two windows visible. If you sometimes want three windows, two tiled halves plus a floating reference window, Window Tiling is the right method. If you want full focus with nothing else visible, Split View.
The keyboard gap and why most tutorials skip it
Search any tutorial on how to split screen on mac and you find instructions for the green button hover. Almost none of them address the keyboard gap: there is no system-wide, configurable keyboard shortcut to tile a window to the left half without reaching for the mouse.
Windows has had ⊞ ← and ⊞ → since Windows 7. Linux tiling window managers map arbitrary keys to any window position. macOS added limited shortcuts in Sequoia but they require two keystrokes (open the Window menu, then the shortcut item) and are not muscle-memory-fast.
For developers who keep both hands on the keyboard, this gap is the real problem. The solution is a third-party tool that intercepts a key combination and repositions the frontmost window without touching the mouse.
Rectangle: the tool that fills the gap
Rectangle is a free, open-source window manager for macOS. The binary is 4.3 MB. It has no subscription, no telemetry, no Electron. It has been maintained continuously since 2019 by a single developer.
Install Rectangle, open it once to grant Accessibility permission, and you immediately have keyboard shortcuts for tiling. The defaults:
⌥ ⌘ ←, left half⌥ ⌘ →, right half⌥ ⌘ ↑, top half⌥ ⌘ ↓, bottom half⌥ ⌘ C, center⌥ ⌘ F, maximize (without entering full screen mode)
All shortcuts are configurable in the preferences pane. Rectangle also supports snap zones: drag a window near an edge and it snaps, similar to Sequoia Window Tiling but configurable with a smaller dead zone.
I have been running Rectangle on two machines for three years. The binary starts in under 10ms. It does not appear in Activity Monitor in any meaningful way, resident size is around 28 MB. It uses Accessibility APIs to move windows, which means it works with every app, including those that do not support full screen.
Rectangle Pro adds custom window sizes, per-app preferences, and a keyboard shortcut for cycling through halves then thirds then quarters by repeating the same key. If you resize windows with specific pixel counts, a common need when working across a 4K display and a secondary 1440p, Rectangle Pro is worth the one-time purchase. If you only want left-half and right-half, the free version solves it permanently.
Magnet and Moom: when you want App Store provenance
Rectangle is the right answer for most people, but two alternatives are worth naming if open-source tools are not your preference or if App Store sandboxing is a requirement in your team's device policy.
Magnet is $7.99 one-time from the App Store. It predates Rectangle (originally released 2014) and offers a similar feature set: keyboard shortcuts, menu bar icon, snap zones. The shortcuts differ from Rectangle's defaults, which matters if you are standardising across a team. Magnet has no free tier and no Pro version, what you buy is the complete feature set.
Moom is $10 one-time from the App Store or direct. It differs from both Rectangle and Magnet in that it adds a zoom button popover with visual previews of possible window positions, and a scripting system for saving and restoring named window layouts. If you switch between a standing desk monitor configuration and a laptop-only configuration multiple times per day, Moom's layout save-and-restore is a genuine time saving. Rectangle Pro has partial overlap here, but Moom's layout engine is more mature.
One practical note: Magnet and Moom run through App Store sandboxing, which in rare cases limits the APIs they can call. In practice I have not encountered a window these tools could not move. But if you work with unusual window types, certain virtualization software, some drawing apps, Rectangle (outside the sandbox) has more reliable coverage.
Which method fits how you actually work
Native Split View: use it if you want two apps with complete visual focus and no distraction from other windows. The hover entry is annoying once and muscle memory after a week.
macOS Sequoia Window Tiling: use it if you want to keep the desktop visible, mix tiled and floating windows, or are already on Sequoia and do not want to install anything.
Rectangle (free) or Rectangle Pro: use it if you keep both hands on the keyboard, work across multiple monitors, or need consistent behaviour regardless of which macOS version you're running. Fourteen configurable hotkeys. 4.3 MB. One permission grant at install.
Skip if you have two windows open once a week and the green button hover takes you where you need to go. Install Rectangle if you tile windows more than a few times per day and find yourself reaching for the mouse more than you should.
One tool. One job.
One last note on external displays: split screen on Mac works across multiple monitors, but the behaviour differs. Connect a second monitor and macOS treats it as a separate Space by default. Enable "Displays have separate Spaces" in System Settings > Desktop and Dock to tile windows across the same monitor rather than spanning both. With that setting off, each display operates independently, which is useful if you prefer one display for focused work and one for reference.